
Last updated: May 2026 — written by the Gymnase Tips training team.
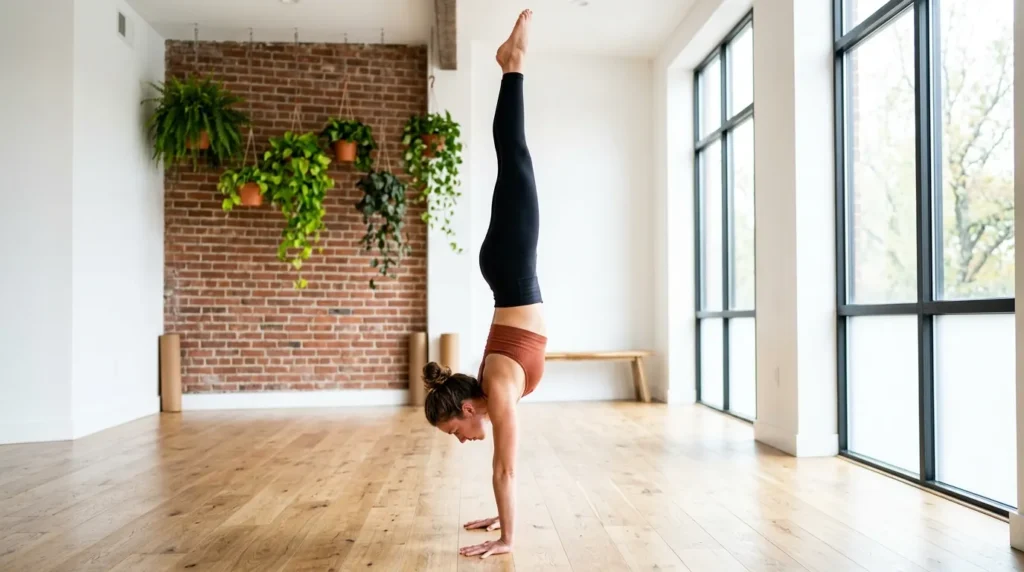
The handstand progression is the standard 5-stage path that takes a beginner from wrist-conditioning prep to a freestanding 30-second handstand. The five stages are: wrist preparation and pike push-up base → wall walks and chest-to-wall holds → back-to-wall kick-up holds → freestanding kick-ups against the wall as a safety net → freestanding holds in open space. Most healthy adults who train consistently — 4 to 5 short sessions per week — develop a freestanding 30-second handstand in 8 to 12 weeks. The biggest reason most attempts stall isn’t strength; it’s wrist conditioning, which has to be built before high-volume handstand work or every session will be cut short by wrist pain. This guide walks every stage with cues, common stalling points, and an 8-week training plan.
Table of Contents
- Why Handstands Are Hard
- Prerequisites & Wrist Preparation
- The 5-Stage Progression
- 8-Week Training Plan
- Common Mistakes
- FAQ
Why Handstands Are Hard
The handstand stacks four unrelated demands into a single hold:
- Wrist endurance. Your full bodyweight loads two contact points (wrists) at extreme extension. Without conditioning, the wrists fail before any other quality.
- Shoulder stability. The shoulders are at end-range overhead flexion under load, and the joint has to remain stable through small balance corrections.
- Body line awareness. Hollow body shape (ribs down, glutes squeezed, legs together) is the line that holds. Banana-back, piked, or arched alignments require constant corrections that ruin balance.
- Balance under inversion. Vestibular and proprioceptive systems normally calibrate to upright posture. Inverting forces a complete recalibration that takes weeks of cumulative time-upside-down.
This is why “just kick up and try to hold it” doesn’t work as a program — you’ll fall, get frustrated, hurt your wrists, and quit within two weeks. The progression isolates each demand sequentially.
Prerequisites & Wrist Preparation
Don’t skip this stage. The single most common reason handstand progressions stall is wrist pain, and the single most preventable cause of wrist pain is skipping the prep.
Strength prerequisites
- 10 strict pike push-ups with full ROM (head touches floor)
- 30-second plank hold with rigid hollow body
- Shoulder flexion to 180° — arms reach fully overhead with biceps next to ears
Daily wrist preparation routine
5 minutes before every handstand session, plus a daily standalone routine for 2 weeks before starting the progression:
- Wrist circles (10 each direction)
- Palms-down floor press, fingers pointing back (30 seconds × 3)
- Palms-up floor press, fingers pointing forward (30 seconds × 3)
- Knuckle push-ups against floor (10 reps × 2)
- Forearm stretch, both flexion and extension (30 seconds each)
The wrists need 2–4 weeks of conditioning before high-volume handstand work feels comfortable. Skip this and your handstand career stalls in the first month.
The 5-Stage Progression
Stage 1 — Pike Push-Up Base
Pike push-ups (downward dog position, lower head to floor) build the pressing strength and shoulder loading that handstand work demands. Goal: 3 sets × 8 strict pike push-ups with full ROM.
This stage typically runs 2–3 weeks. Don’t rush it — pike push-ups translate directly to overhead pressing strength under your bodyweight.
Stage 2 — Wall Walks & Chest-to-Wall Hold
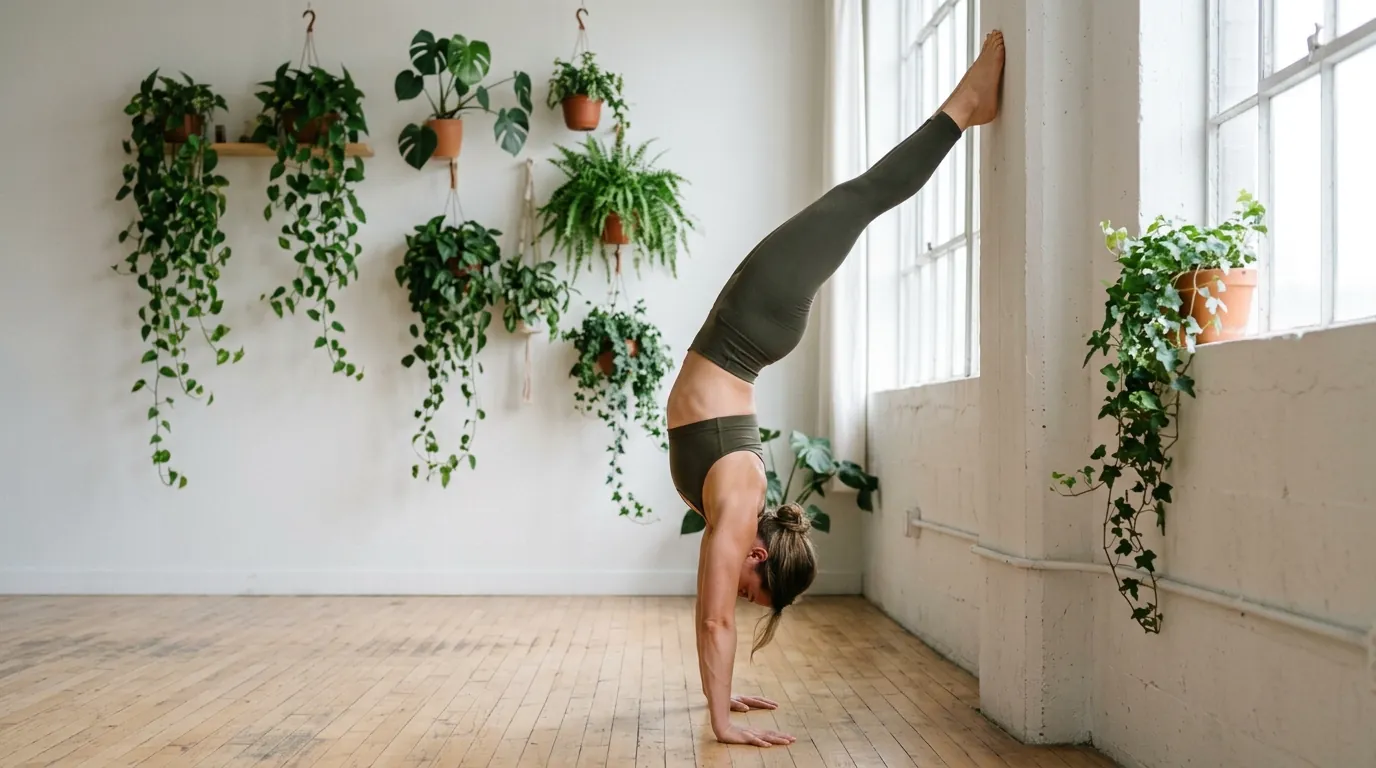
From a plank with feet against a wall, walk your hands toward the wall as you walk your feet up. End in a chest-to-wall handstand with your nose nearly touching the wall, hollow body, full body line.
Goal: 3 walks × 30-second holds at the wall. The chest-to-wall position is the cleanest way to learn proper handstand alignment because the wall enforces a vertical line you can’t argue with.
Stage 3 — Back-to-Wall Kick-Up Hold
Stand a foot away from the wall facing out. Place hands on the floor, kick one leg up while the other follows, ending with both heels touching the wall behind you. Hands should be roughly shoulder-width apart and ~6″ from the wall.
Goal: 5 holds × 30 seconds, balanced as much as possible WITHOUT relying on the wall — use it as a safety catch only. Most athletes find this is the stage where balance starts to develop in earnest.
Stage 4 — Freestanding Kick-Up Practice
Set up 1–2 feet from a wall facing out. Kick up but aim to balance in open space — let the wall catch you only if balance is lost. Drill kick-up consistency: same leg, same hand position, same kick force every time.
Goal: 10 kick-up attempts per session, scoring each (held 0–5s, 5–15s, 15–30s, 30s+). Within 2–3 weeks at this stage, most athletes start hitting 5–15 second freestanding holds reliably.
Stage 5 — Open-Space Freestanding Hold
No wall, no safety net. Kick up, find balance via small finger and wrist corrections, hold for 30 seconds. Goal: 30-second hold consistently, then build to 60 seconds.
This is the stage where balance becomes a trained skill. Small corrections — fingertip pressure, wrist micro-adjustments, slight hip shifts — keep you upright. Practicing falling safely (cartwheeling out, or pirouetting) is essential at this stage so you can attempt holds without fear.
8-Week Training Plan
Run handstand work 4–5 sessions per week in 15-minute blocks. Frequency matters more than session length — daily short sessions outperform 2 long sessions for this skill.
| Weeks | Focus | Session structure |
|---|---|---|
| 1–2 | Wrist prep + pike push-ups | 5 min wrist routine + 3×8 pike push-ups |
| 3–4 | Wall walks + chest-to-wall holds | 5 min wrist + 3 walks × 30s holds |
| 5–6 | Back-to-wall kick-up holds | 5 min wrist + 5 × 30s holds |
| 7 | Freestanding kick-up practice | 5 min wrist + 10 kick-up attempts |
| 8 | Open-space freestanding | 5 min wrist + max attempts at 30s holds |
Quality over quantity. A 12-minute session of perfect form beats a 30-minute session of degrading attempts every time. If your form breaks (excessive arch, piking, banana-back), the session is over.
Common Handstand Mistakes
- Skipping wrist prep. Wrist pain is preventable. Daily 5-minute wrist work for 2–4 weeks before high-volume handstand work prevents 90% of issues.
- Banana-back alignment. Excessive lumbar arch is the most common form fault. Cue: ribs down, glutes squeezed, legs together. The body should look like a straight line, not a banana.
- Hands too close together (or too wide). Shoulder-width is the durable position. Closer demands more shoulder stability than most athletes have; wider creates a weaker pressing position.
- Looking forward instead of at the floor. Looking forward arches the spine. Look at a point on the floor between your hands — neck stays neutral, line stays clean.
- Kicking too hard or too soft. Too hard sends you over; too soft never reaches vertical. Most athletes need 3–5 sessions of consistent kick-up practice to find their calibration.
- Practicing only when fresh. Real handstands happen when you’re not fresh — daily short sessions teach your CNS to find balance under varying conditions.
- Avoiding the bail. Practice cartwheeling out of failed handstands as a deliberate skill. Athletes who can bail safely attempt longer holds without fear; athletes who can’t, plateau early.
FAQ
How long does it take to learn a handstand?
8 to 12 weeks for most healthy adults who train 4–5 short sessions per week. Athletes with prior gymnastics, dance, or yoga backgrounds typically progress faster (4–8 weeks). Heavier athletes or those with limited shoulder mobility may need 16+ weeks.
Should I do handstands every day?
Yes — daily short sessions (10–15 minutes) outperform infrequent long sessions for this skill. Handstand balance is heavily neurological; cumulative time-upside-down builds the calibration faster than concentrated single-session work. The exception is when wrists or shoulders signal overuse — back off for 24–48 hours.
How does the handstand fit into a calisthenics program?
It’s a foundational skill-strength element that supports handstand push-ups, planche progressions, and any inverted work. Train it as a fresh skill block — 10–15 minutes early in your session, before other pulling/pressing work. See our advanced calisthenics workout for the full skill-strength split that fits handstand training cleanly.
Are handstands bad for the wrists or shoulders?
Not when programmed correctly with proper wrist preparation and form. Handstand training builds wrist and shoulder durability over time. The injuries that do occur are almost universally from skipped wrist prep, excessive volume too early, or pre-existing wrist/shoulder issues that should have been cleared by a professional first.
Can I learn a handstand without a coach?
Yes. A coach accelerates learning by 30–50% via real-time form feedback, but the progression itself is self-teachable with discipline and patience. Filming your attempts and reviewing the video closes most of the form-feedback gap that a coach would otherwise provide.
What’s the difference between a freestanding handstand and a handstand push-up?
The freestanding handstand is a static balance hold; the handstand push-up adds vertical pressing through the held position. Most athletes own a 30-second freestanding handstand 6–12 months before a freestanding handstand push-up. Train the static hold first; the press comes after.
Bottom Line
The handstand rewards consistency above all else. Daily 10–15 minute sessions for 8–12 weeks, with non-negotiable wrist prep, walk most healthy adults from zero handstand experience to a freestanding 30-second hold. The biggest reason this skill stalls isn’t strength or balance — it’s wrist pain from skipped preparation. For broader calisthenics skill work, see our advanced calisthenics workout, military calisthenics workout guide, inverted push-up, and hardest calisthenics moves guides.